Best Homemade Gluten Free Ciabatta Bread Recipe
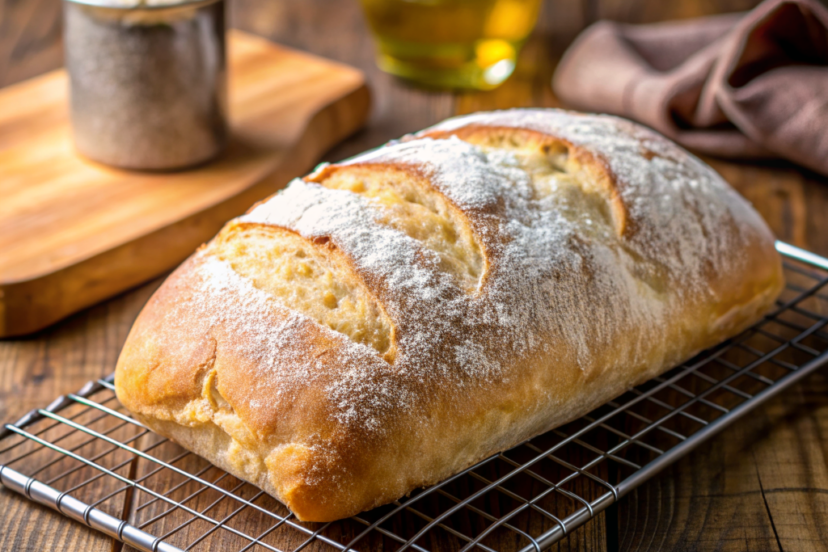
There’s nothing quite like the smell of fresh bread wafting through the house. It’s a comforting, warm, and inviting aroma that brings everyone to the kitchen. As someone who absolutely loves making bread and testing different recipes, I’ve spent countless hours perfecting a gluten free ciabatta bread recipe that is sure to impress. Whether you’re new to gluten-free baking or a seasoned pro, this guide will walk you through every step, ensuring delicious results every time.
My Personal Story about Gluten-Free Baking
I remember my first attempt at making gluten-free bread. It was a disaster! The bread was dense, dry, and far from the crusty delight I had envisioned. But I didn’t give up. I was determined to create a gluten-free ciabatta bread that could rival its traditional counterpart. After numerous experiments and tweaks, I finally crafted a recipe that produced a light, airy, and crisp crusted bread. Now, I’m excited to share this gluten-free bread recipe with you.
The Origins of Ciabatta Bread
Ciabatta bread, which translates to “slipper” in Italian due to its distinctive flat and elongated shape, originated in Italy in the early 1980s. It was created by a baker named Arnaldo Cavallari in the Veneto region as a response to the growing popularity of French baguettes. Cavallari aimed to create a bread that would be ideal for sandwiches, with a crisp crust and a light, airy crumb. The result was ciabatta, which quickly gained popularity across Italy and eventually around the world for its versatility and delightful texture.
Why Gluten-Free Ciabatta Bread?
Health Benefits
Switching to a gluten-free diet can have numerous health benefits, especially for those with celiac disease or gluten sensitivity. Gluten-free ciabatta bread allows you to enjoy the pleasure of fresh, homemade bread without the adverse effects of gluten.
Versatility in Diets
This gluten-free ciabatta bread recipe is versatile enough to fit various dietary needs, including vegan, keto, and diabetic-friendly variations.
Ingredients You’ll Need
The Essentials
• Rice flour: 2 cups
• Sorghum flour: 1 cup
• Millet flour: 1/2 cup
• Psyllium husks: 1/4 cup
• Xanthan gum: 1 teaspoon
• Instant yeast: 2 teaspoons
• Kosher salt: 1 teaspoon
• Lukewarm water: 2 cups
• Olive oil: 2 tablespoons
• Apple cider vinegar: 1 tablespoon
Optional Ingredients for Variations
• Balsamic vinegar: for added flavor
• Melted butter: for a richer taste
• Corn starch: for a lighter texture
Equipment Needed
Making gluten free ciabatta bread at home requires a few essential tools to ensure the best results. You’ll need a large mixing bowl for combining your dry and wet ingredients, and a medium bowl for mixing the wet ingredients. A loopy whisk or the bowl of a stand mixer on medium speed is ideal for mixing the dough to the right consistency. A bench scraper or a rubber spatula will be useful for scraping the sides of the bowl, handling the sticky dough, and shaping it on your floured surface. For baking, a baking sheet lined with parchment paper is essential, and if you have one, a baking stone or cast iron skillet can help achieve a crisp crust. Additionally, having plastic wrap to cover the dough during rising, and a wire rack for cooling, will make the process smoother.
Preparation Time
I won’t lie to you, preparing gluten free ciabatta bread involves several steps, each requiring a bit of patience for the best results. The initial mixing and kneading of the dough take about 20 minutes. After this, you’ll need to allow the dough to rise in a warm place for about 1-2 hours for the first rise. Shaping the dough and letting it rise again takes another 1-2 hours. Finally, baking the bread to a deep golden brown takes about 20-25 minutes. In total, you should set aside approximately 4-5 hours from start to finish, most of which is waiting time for the dough to rise and develop its airy structure. But believe me, the time invested is well worth it for the delicious, homemade bread you’ll fall in love with!
Step-by-Step Instructions
Preparing the Dough
1. Combine the Dry Ingredients: In a large bowl, mix the rice flour, sorghum flour, millet flour, psyllium husks, xanthan gum, instant yeast, and kosher salt. Make sure they are well blended.
2. Mix the Wet Ingredients: In a medium bowl, combine the lukewarm water, olive oil, and apple cider vinegar. Pour this mixture into the dry ingredients.
3. Mix the Dough: Using a loopy whisk or the bowl of a stand mixer on medium speed, mix until the dough forms a sticky, wet mixture. This is your ciabatta dough.
4. First Rise: Cover the bowl with plastic wrap and let it sit in a warm place for about 1-2 hours, or until it has doubled in size.
Shaping the Dough
5. Prepare Your Work Surface: Dust a floured surface with rice flour. Using a bench scraper, gently transfer the dough onto the work surface. Sprinkle some excess flour on top to make it easier to handle.
6. Shape the Dough: Form the dough into a rough rectangle, then fold it over a few times to develop its structure. This will help create that perfect bread texture with air bubbles.
7. Divide the Dough: Use a sharp knife to cut the dough into two pieces for large loaves or into smaller pieces for free ciabatta rolls.
Second Rise and Baking
8. Second Rise: Place the shaped dough on a baking sheet lined with a piece of parchment paper. Cover with plastic wrap and let it rise in a warm place for another 1-2 hours.
9. Preheat the Oven: Set your oven temperature to 450°F (230°C). Place a baking stone or a cast iron skillet at the bottom of the oven to preheat as well.
10. Bake the Bread: When the dough has risen, quickly and carefully open the oven door and slide the baking sheet onto the middle rack. Place a few ice cubes in the baking stone or skillet at the bottom of the oven to create steam.
11. Bake Until Golden: Bake for 20-25 minutes, or until the bread is a deep golden brown and has a crisp crust. Check the bottom of the oven to ensure it’s not burning.
Cooling and Storing
12. Cool on a Wire Rack: Transfer the baked ciabatta bread to a wire rack to cool completely before slicing. This helps retain its structure and flavor.
13. Storage Tips: For longer storage, wrap the bread in a piece of parchment paper and store it in an airtight container at room temperature. You can also freeze it for up to three months.
Nutritional information
| Nutrient | Amount per Serving (1 slice, approx. 50g) |
| Calories | 120 |
| Total Fat | 2g |
| – Saturated Fat | 0.3g |
| – Trans Fat | 0g |
| Cholesterol | 0mg |
| Sodium | 150mg |
| Total Carbohydrates | 24g |
| – Dietary Fiber | 3g |
| – Sugars | 0.5g |
| Protein | 2g |
| Vitamin D | 0mcg |
| Calcium | 10mg |
| Iron | 0.5mg |
| Potassium | 30mg |
Tips for Perfect Gluten-Free Ciabatta Bread
Choosing High-Quality Flour
Using high-quality flour blends is crucial for achieving that flour-streaked exterior and light texture. Brands that specialize in gluten-free flours often produce better results.
Managing the Wet Mixture
Gluten-free dough tends to be wetter than traditional dough. Don’t be tempted to add more flour. The wet mixture is necessary for creating those delightful air bubbles and a light crumb.
Patience is Key
Giving the dough enough time to rise properly is essential. Rushing this process will result in a denser bread. Ensure your dough is in a warm place to facilitate the rise.
Variations for Different Diets
Vegan
Replace the olive oil with a neutral oil like sunflower or canola, and ensure all ingredients are certified vegan.
Keto
Replace the rice flour and sorghum flour with almond flour and coconut flour. Adjust the amount of psyllium husks and xanthan gum to maintain the structure.
Diabetic-Friendly
Use a low glycemic index flour blend. Incorporate more fiber-rich flours like oat flour and flaxseed meal to help manage blood sugar levels.
Soy-Free
Ensure all ingredients, especially the xanthan gum and psyllium husks, are certified soy-free to avoid any potential allergens.
Delicious Serving Suggestions for Ciabatta Bread
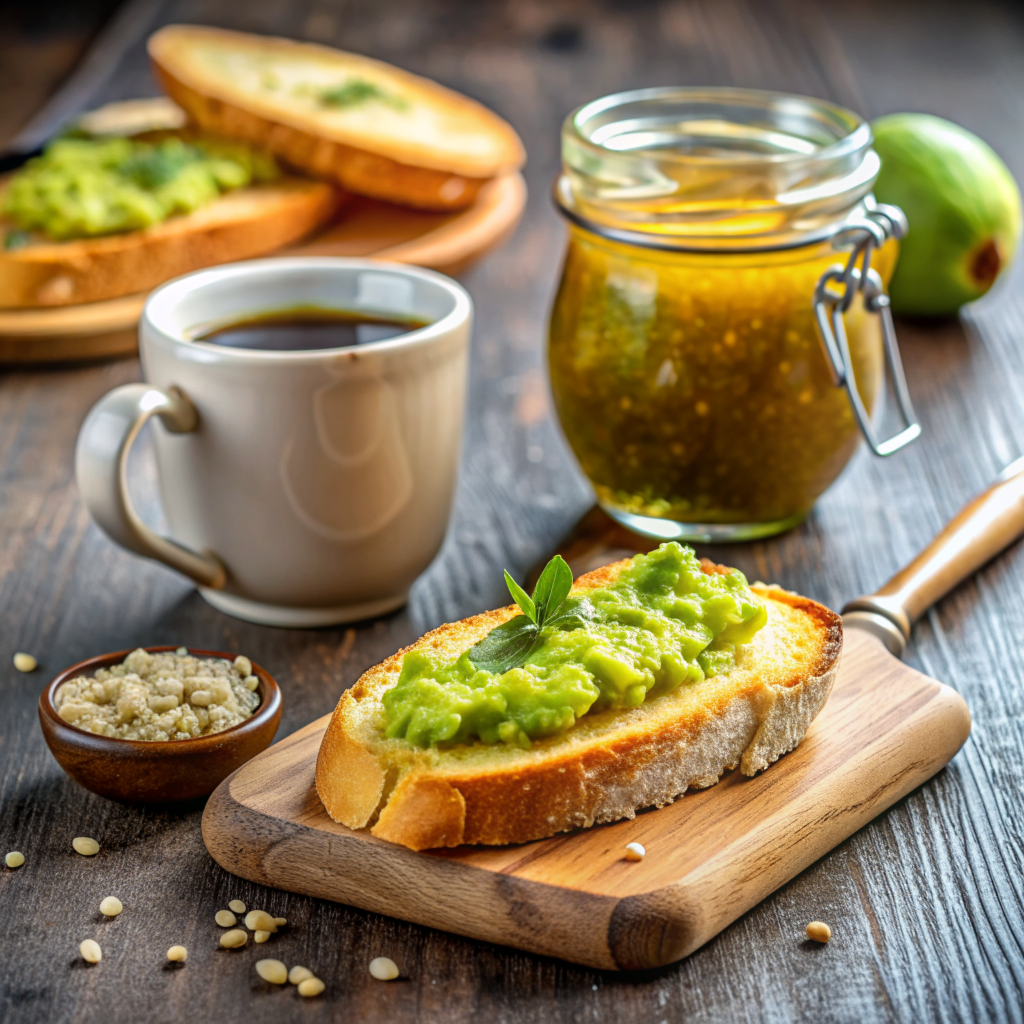
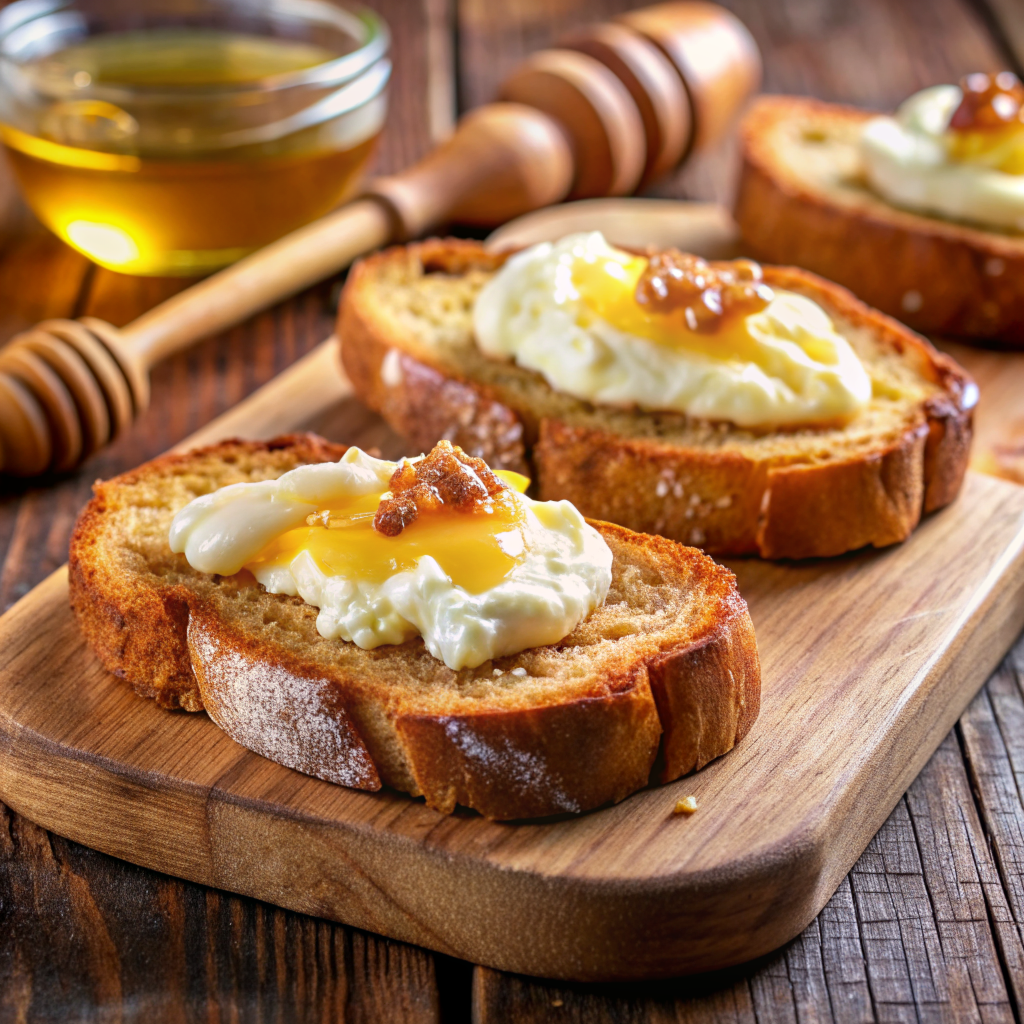
Breakfast Delight
Start your morning with a slice of toasted ciabatta, topped with a generous spread of avocado and a sprinkle of sea salt. For a sweeter option, try it with butter and a touch of honey or your favorite jam. Pair it with a cup of coffee for a delightful breakfast.
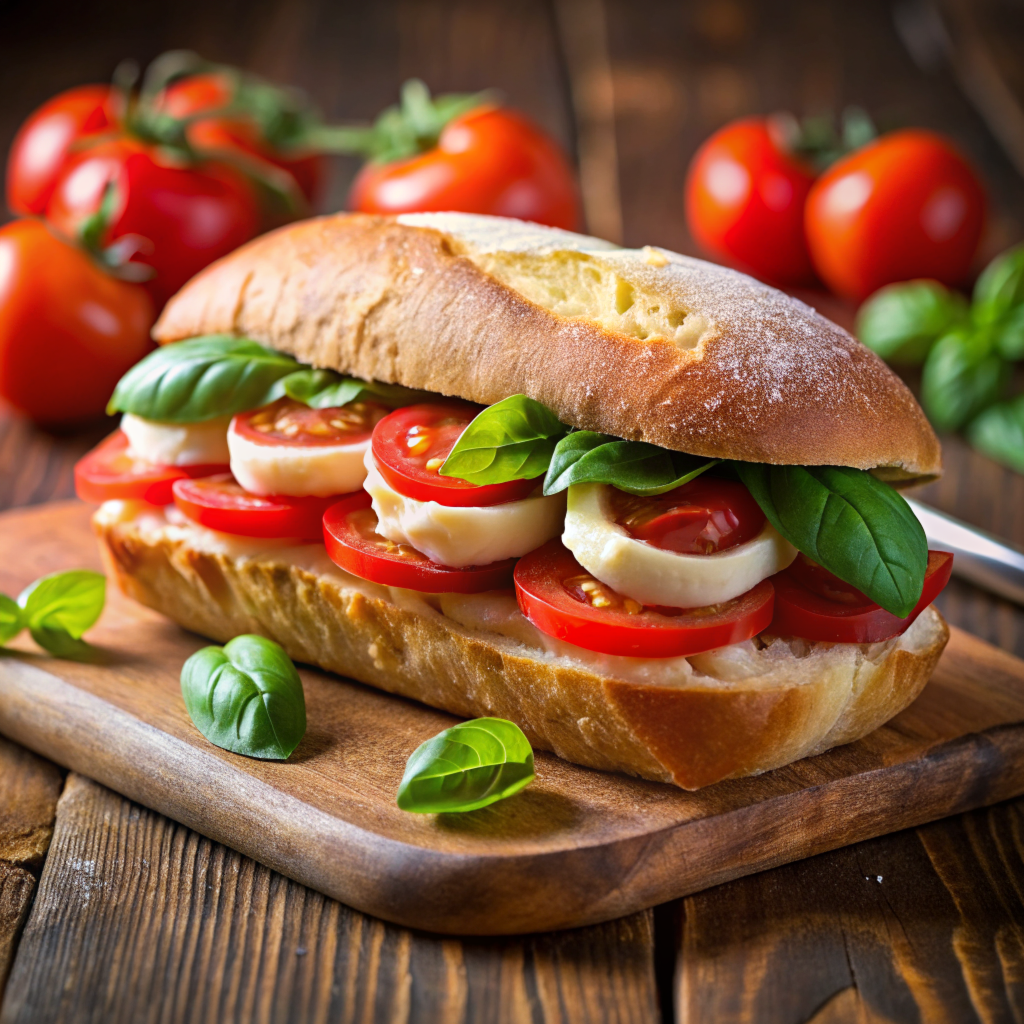
Lunch Perfection
Ciabatta bread makes the perfect base for a hearty sandwich. Layer fresh mozzarella, tomatoes, and basil for a classic Caprese sandwich, or go for a more robust filling with grilled chicken, arugula, and a drizzle of balsamic vinegar. The airy crumb and crisp crust hold up well to all kinds of fillings.
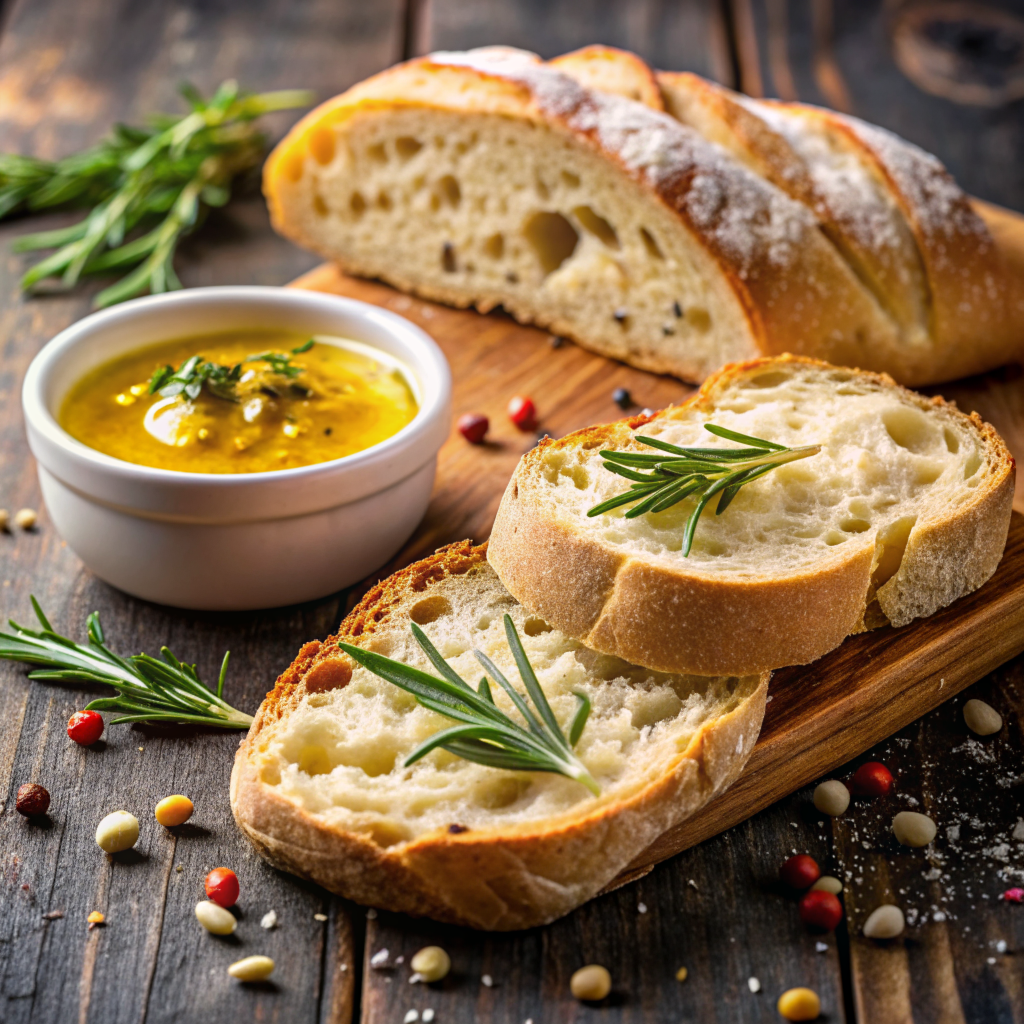
Snack Time
For a quick and satisfying snack, enjoy ciabatta with a drizzle of high-quality olive oil and a sprinkle of sea salt. It’s also great with hummus or your favorite dip. The bread’s texture is perfect for scooping and dipping.
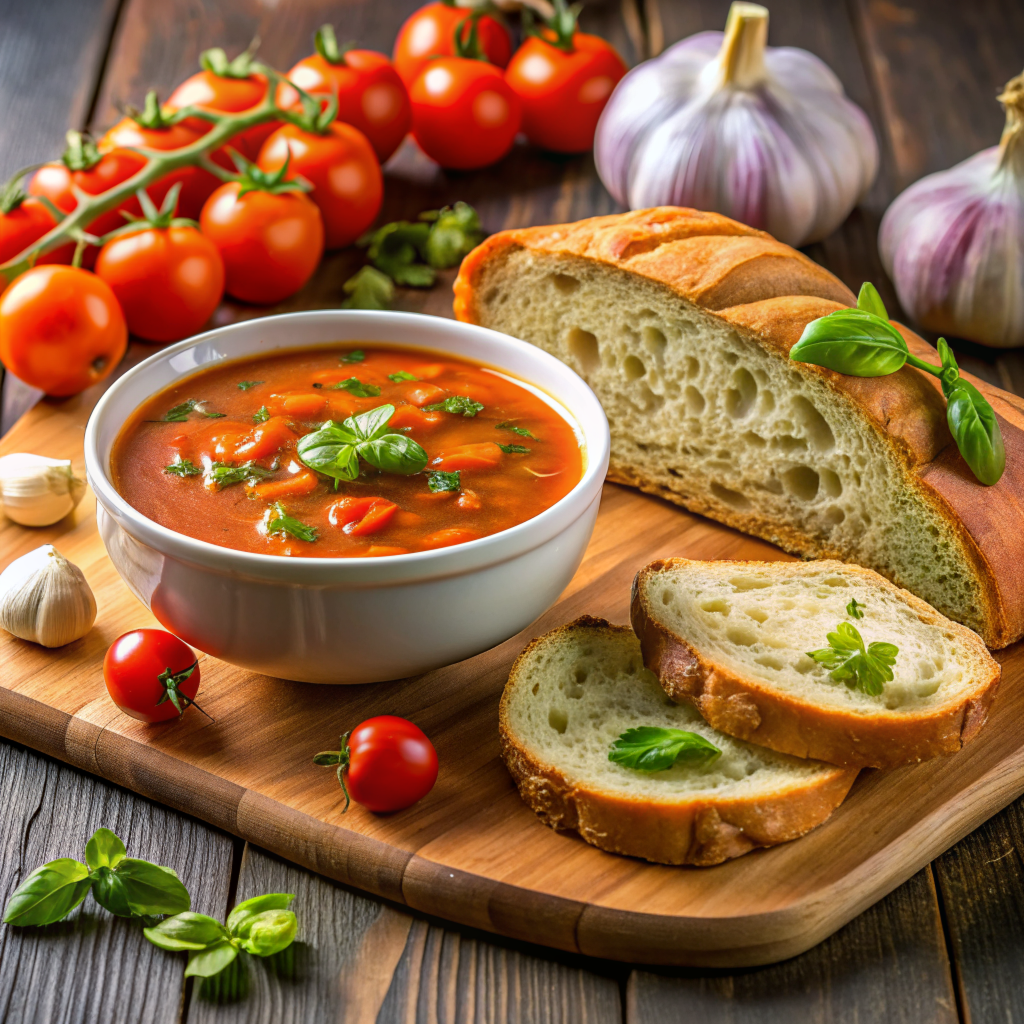
Dinner Companion
Serve ciabatta as a side with your favorite soups and stews. Its crusty exterior and soft interior are perfect for soaking up flavorful broths. Alternatively, use it to make garlic bread: simply toast slices, rub with garlic, and drizzle with olive oil.
Sweet Treat
For a dessert twist, toast ciabatta slices and spread with butter and cinnamon sugar, or enjoy with a dollop of ricotta and a drizzle of honey. It’s a delightful way to end any meal.
Try Your Own
Creating a gluten free ciabatta bread recipe at home is a rewarding experience that brings the joy of fresh bread into your kitchen without the gluten. With simple ingredients, patience, and the right technique, you can enjoy a delicious bread that’s perfect for any meal. Whether you’re enjoying it fresh out of the oven or using it for sandwiches, this homemade ciabatta bread is sure to become a favorite. Happy baking!
For more bread recipes, check the following links:
FAQs
1. Can I use a sourdough starter for this recipe?
Yes, you can incorporate a gluten-free sourdough starter for added flavor. Just replace the instant yeast with your starter and adjust the liquid ingredients accordingly.
2. How do I make the crust extra crispy?
Adding ice cubes to the oven helps create steam, which results in a crisp crust. You can also brush the top of the dough with melted butter before baking to obtain a crusty bread.
3. Can I use a bread machine for this recipe?
While this recipe is designed for manual preparation, you can experiment with a bread machine. Just follow the machine’s instructions for gluten-free bread recipes.
4. What can I use instead of a baking stone?
If you don’t have a baking stone, a cast iron skillet or even an inverted baking sheet can work. The goal is to provide a hot surface for the bread to bake on.
5. How do I know when the bread is fully baked?
The bread should be a deep golden brown and sound hollow when tapped on the bottom. You can also use a thermometer; the internal temperature should be around 200°F (93°C).